Polished Walls: A Handyman’s Guide to Repair & Drywall Installation
This text provides comprehensive guidance on wall repairs and drywall installation from a handyman&#…….
This text provides comprehensive guidance on wall repairs and drywall installation from a handyman's perspective. It highlights the importance of pre-installation preparation, including fixing common issues like holes and cracks with spackling compound and sanding. The guide discusses different types of drywall suitable for various projects, emphasizing the benefits of specialized options for enhanced protection against moisture, mold, and fire hazards. It offers step-by-step instructions on cutting and hanging drywall, securing sheets with screws, and accurately cutting openings for doors and windows. Handyman Tips emphasize detailed techniques like using joint tape, proper compounding, and sanding for seamless joins and professional finishes, ensuring a polished final product.
“Transform your walls from damaged and dull to polished and perfect with our comprehensive guide. Whether you’re tackling common wall repairs or installing drywall for the first time, this article is your go-to resource. We’ll walk you through understanding and fixing issues like cracks and holes, preparing your surface for a smooth finish, and choosing the right drywall for your needs. Learn efficient installation techniques and achieve seamless joins for a professional look. Discover handyman tips tailored for successful wall repair and drywall installation.”
- Understanding Wall Repairs: Common Issues and Their Solutions
- Preparing the Surface: Key Steps Before Drywall Installation
- Choosing the Right Drywall: Types and Applications
- Drywall Installation Process: A Step-by-Step Guide for Beginners
- Achieving a Polished Finish: Techniques for Seamless Joins and Smooth Surfaces
- Handyman Tips for Efficient Wall Repair and Drywall Installation
Understanding Wall Repairs: Common Issues and Their Solutions
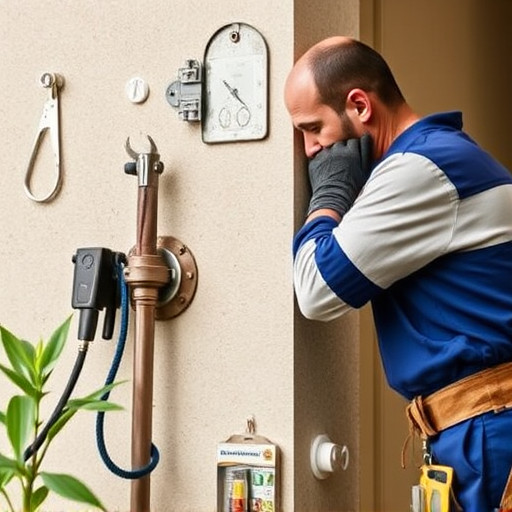
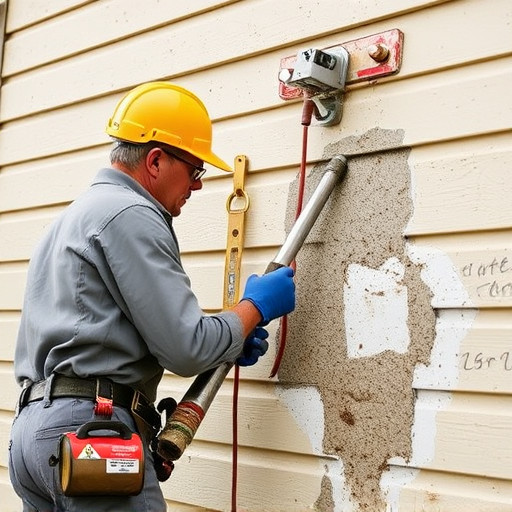
When it comes to achieving a polished finish, understanding wall repairs is key for any handyman. Common issues like holes, cracks, and water damage are often encountered, but simple solutions exist to address them before drywall installation. For minor imperfections such as nail holes or small cracks, filling with spackling compound and sanding smooth is an effective Handyman Tip. This process ensures a seamless base for your upcoming drywall project.
Water damage, a frequent concern, requires more attention. First, remove any affected drywall, then address the source of moisture. After drying completely, use a specialized repair kit to patch and prime the area. These steps are crucial Handyman Tips for preparing walls, ensuring a robust foundation for professional-grade drywall installation.
Preparing the Surface: Key Steps Before Drywall Installation
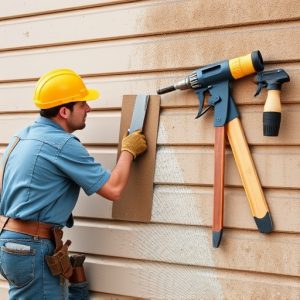
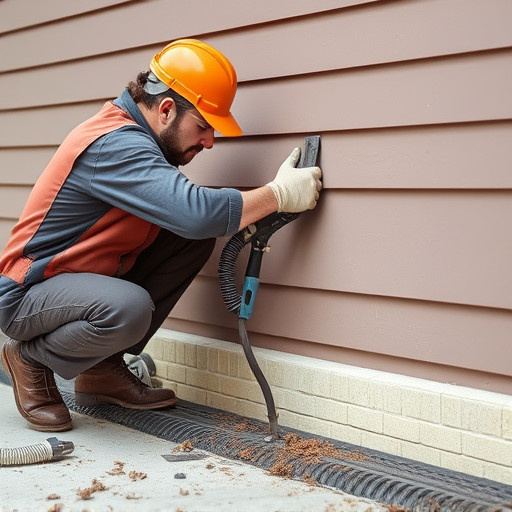
Before drywall installation, preparing the surface is a crucial step for achieving a polished finish. As a handyman, start by inspecting the walls to identify any flaws or damage that require repair. Fill in holes, cracks, and bumps with spackling compound using a putty knife, allowing it to dry completely. Once smooth, sand the area gently to remove any roughness.
Next, ensure the wall is clean and free of dust or debris. Use a damp cloth to wipe down the surface, followed by a dry cloth to absorb excess moisture. It’s important to check for existing studs and wiring to avoid accidental damage during installation. Handyman tips suggest marking the positions of nails and screws with a pencil to guide the placement of drywall, ensuring a neat and precise fit.
Choosing the Right Drywall: Types and Applications

When it comes to wall repair and drywall installation, selecting the appropriate type is a crucial step for achieving a polished finish. As a handyman, understanding the different options available will help you tackle various projects with confidence. Drywall comes in several varieties, each suited for specific needs. For example, standard gypsum board is versatile and ideal for general repairs and new installations. It offers a smooth surface, perfect for painting or applying finishes.
For more challenging tasks, consider specialized drywall options. Water-resistant or moisture-resistant boards are essential when repairing areas prone to high humidity, like bathrooms or kitchens. These types feature added protection against mold and mildew growth. Additionally, there are fire-rated drywalls that provide enhanced safety features for homes and commercial spaces. Choosing the right drywall type based on your project’s unique requirements ensures a sturdy, safe, and aesthetically pleasing outcome—a handyman’s dream!
Drywall Installation Process: A Step-by-Step Guide for Beginners
Drywall installation can seem daunting, but with the right tools and a systematic approach, it’s a skill every handyman should possess. Here’s a simplified guide for beginners:
1. Preparation: Start by gathering your materials—drywall sheets, screws, joint compound, tape, a utility knife, and a level. Ensure your work area is clean and organized, and protect floors with drop cloths. Identify where each sheet will go, marking walls to ensure straight cuts.
2. Cutting and Hanging: Use a circular saw or utility knife to cut drywall to size. Place sheets on the wall, starting from one corner, using the marks as guides. Secure them in place with screws, keeping spaces even for easier joint compound application. Cut out any openings like doors or windows before hanging, ensuring a precise fit.
Achieving a Polished Finish: Techniques for Seamless Joins and Smooth Surfaces
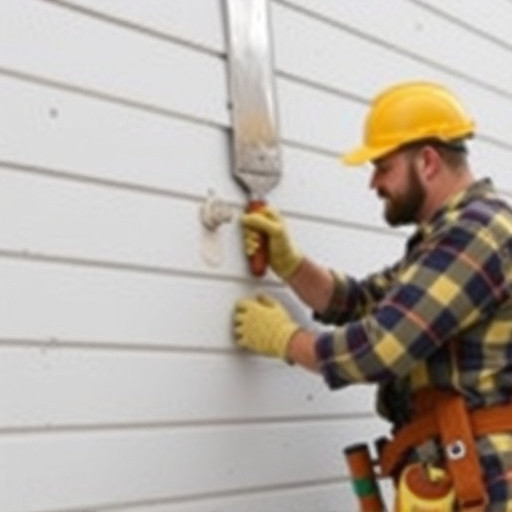
Achieving a polished finish in wall repair and drywall installation is all about attention to detail and utilizing the right techniques. For seamless joins, it’s essential to use proper joint tape and compound, ensuring the seams are filled and smooth. By carefully sanding between coats and using fine-grit sandpaper, you can create an incredibly smooth surface that’s ready for priming and painting.
Handyman tips suggest taking your time during the installation process to avoid bumps and imperfections. Using a level to ensure straight lines and utilizing a damp cloth to wipe away excess compound will result in cleaner, more professional-looking finishes. These techniques not only enhance the aesthetic appeal but also contribute to the overall durability of the walls, making them less prone to future damage or imperfections.
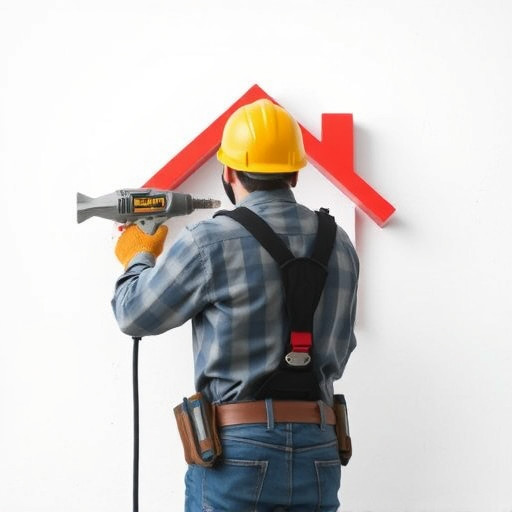
Handyman Tips for Efficient Wall Repair and Drywall Installation
When tackling wall repair and drywall installation, handyman tips can make the process smoother and more efficient. First, assess the damage carefully – whether it’s a hole from a nail or a larger section that needs replacement. Gather the right tools for the job, including tape, joint compound, sandpaper, and a putty knife. For small holes or cracks, a simple patch and spackling compound can achieve a polished finish with minimal effort.
Mark the outline of the repair area, apply the tape, and fill the gap with joint compound using the putty knife. After allowing it to dry, sand gently to smoothen any rough edges. For larger repairs or drywall installation from scratch, measure and cut sheets to size, ensuring precise fit. Use a level to ensure straight hangs, and secure them with screws from the back, following up with joint tape and compound for a seamless finish that contributes to your home’s polished overall look.
For those seeking a polished finish, mastering wall repair and drywall installation is key. By understanding common issues, preparing surfaces diligently, and choosing the right drywall for your project, you’re well on your way to achieving a seamless, professional-grade result. Follow our step-by-step guide, learn handyman tips, and soon enough, you’ll be transforming walls from rough to ready in no time.