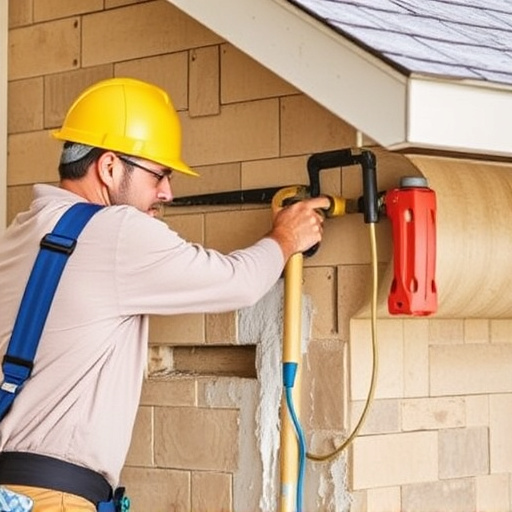
Maintain Your Shower: Handyman Tips for Grout Sealing Benefits
Grout sealing is a Handyman Tip that protects shower tiles from moisture, mold, and stains, making c…….
Grout sealing is a Handyman Tip that protects shower tiles from moisture, mold, and stains, making cleaning easier and prolonging tile lifespan. Choose between silicone or epoxy sealers based on your needs, then apply the sealer after properly cleaning and drying the grout lines (24-48 hours).
Maintaining your shower tiles is an investment in both the look and longevity of your bathroom. One often-overlooked aspect of tile care is grout sealing, a simple yet powerful technique to protect against moisture, dirt, and mold buildup. This guide offers handyman tips on understanding grout sealing, its benefits, and how to choose and apply the right sealer for optimal results, ensuring your shower tiles stay vibrant and durable for years to come.
- Understanding Grout Sealing: The Basics
- Benefits of Regular Grout Sealing for Shower Tiles
- How to Choose and Apply the Right Grout Sealer for Optimal Results
Understanding Grout Sealing: The Basics

Grout sealing is a simple yet powerful Handyman Tip for maintaining the longevity and aesthetic appeal of your shower tiles. It involves applying a protective coating to the grout lines, which prevents moisture, dirt, and stains from settling in. Over time, grout absorbs water and humidity, leading to mold growth and discoloration. Sealing protects against these issues by creating an impermeable barrier that repels water and contaminants.
This process is crucial for keeping your shower looking fresh and new. Sealer fills in the pores of the grout, making it smooth and non-porous. This not only makes cleaning easier but also stops harmful bacteria and mildew from taking root. Regular sealing every 1-2 years, depending on traffic and moisture levels, is an easy task that any Handyman can perform, ensuring your shower tile investment lasts for years to come.
Benefits of Regular Grout Sealing for Shower Tiles

Regular grout sealing is a handyman tip that can significantly extend the life of your shower tiles. By applying a waterproof sealer, you create a protective barrier between the grout and moisture. This prevents the infiltration of water, which can lead to mould, mildew, and discolouration over time. Not only does sealing save you from costly repairs, but it also keeps your shower looking fresh and new for longer.
Moreover, sealed grout is easier to clean. Everyday grime, soap scum, and hard water stains won’t adhere as readily to the protected surface. This means less scrubbing and more time enjoying your spa-like sanctuary. Grout sealing is a simple yet effective strategy for any DIY enthusiast looking to maintain their bathroom’s aesthetics and functionality.
How to Choose and Apply the Right Grout Sealer for Optimal Results

When it comes to choosing a grout sealer, understanding your tile and subfloor is key. Different materials require specific sealers. For example, silicone-based sealers are ideal for bathrooms as they’re resistant to moisture and heat. Epoxy sealers, on the other hand, offer superior protection against stains and abrasion, making them suitable for high-traffic areas. Always opt for a sealer that’s compatible with your tile and grout type.
Applying the sealer correctly is just as important as selecting the right one. Start by cleaning the grout thoroughly to remove any dirt or debris. Then, ensure the surface is dry before applying the sealer evenly using a brush or sprayer. Follow the manufacturer’s instructions for drying times, typically 24 to 48 hours. This process creates a protective barrier that shields against moisture, stains, and mold, ensuring your shower tiles stay in top condition for years.
Grout sealing is a crucial Handyman Tip for maintaining shower tile longevity. By regularly applying the right grout sealer, you can protect against moisture, mold, and stains, ensuring your shower remains vibrant and functional for years to come. With proper care, your shower tiles will serve as a beautiful and durable centerpiece in your home.