Handyman Tips: Fix Door Alignment with Cabinet Hinge Adjustments
Handyman Tips emphasize the significance of regular cabinet hinge adjustments for door alignment iss…….

Handyman Tips emphasize the significance of regular cabinet hinge adjustments for door alignment issues. By visually inspecting misalignments and testing door swing, DIY enthusiasts can fine-tune doors through screw manipulation. This process ensures smooth operation and aesthetic appeal, preventing complex repairs. Adjusting hinges involves loosening screws, realigning, and retightening, with continuous testing. Final checks ensure proper alignment and smooth operation, while lubrication prevents rust and prolongs hinge life. Handyman Tips provide practical advice for maintaining well-functioning, visually appealing cabinets.
Struggling with doors that don’t line up perfectly? Cabinet hinge adjustments can be a game-changer for handyman tips. Learn how to easily correct door alignment issues with this comprehensive guide. We’ll break down identifying problem areas, the tools you need (plus safety precautions), and provide a step-by-step process for fine-tuning your hinges. Discover the final checks to ensure proper alignment and maintenance tips to keep your doors looking their best.
- Understanding Cabinet Hinge Adjustments
- Identifying Door Alignment Issues
- Tools and Safety Precautions
- Step-by-Step Guide to Adjusting Hinges
- Final Checks and Maintenance Tips
Understanding Cabinet Hinge Adjustments

Cabinet hinge adjustments are a handyman’s secret weapon for correcting door alignment issues. Often, misaligned doors aren’t just an eyesore; they can also affect the functionality and overall look of your cabinets. Understanding how to adjust cabinet hinges is a valuable skill that every DIY enthusiast should possess. By carefully manipulating the screws and pins, you can fine-tune the position of your cabinet doors, ensuring they open and close smoothly and look level.
Handyman tips suggest starting with identifying the problem—is the door off-center or wonky? Once spotted, adjusting hinges involves loosening the screws that hold them in place, carefully shifting the door to its correct alignment, then re-tightening the screws. It’s a simple process, but precision is key to achieving a flawless result. Regular maintenance and these quick adjustments can go a long way in keeping your cabinets looking their best.
Identifying Door Alignment Issues

Identifying door alignment issues is a crucial step for any handyman looking to address problems with cabinet hinges. First, visually inspect the doors to spot any visible misalignment, such as doors not closing properly or uneven gaps between the door and frame. These signs often indicate problems with the hinge mounting or adjustment. Secondly, test the door’s swing by opening it fully and noting if it hits the floor or walls at any point, which could suggest a misaligned hinge or hardware that needs tightening. Handyman tips recommend checking for these issues regularly to prevent minor problems from escalating into more complex and costly repairs.
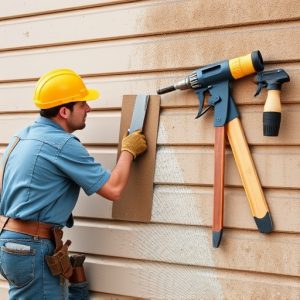
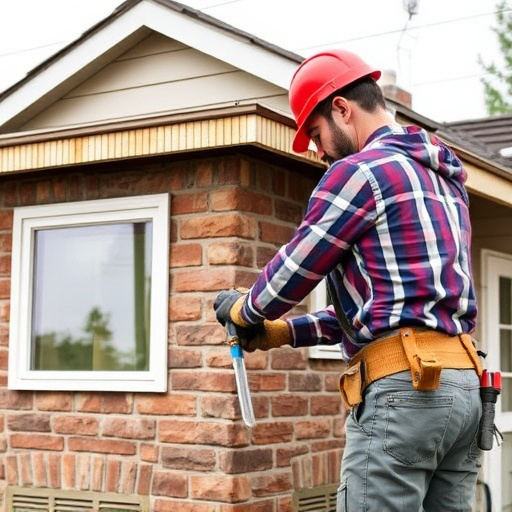
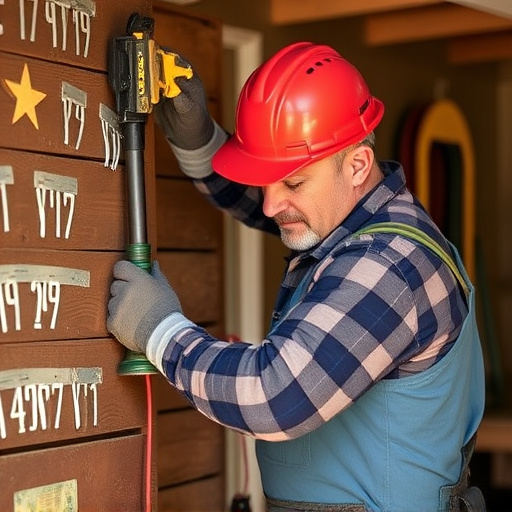
Tools and Safety Precautions
Step-by-Step Guide to Adjusting Hinges
Adjusting cabinet hinges is a straightforward process that can dramatically improve door alignment and overall functionality. Here’s your step-by-step guide to becoming a hinge-tuning pro, courtesy of Handyman Tips:
1. Safety First: Before you begin, ensure the door is fully closed and secure. This prevents accidents and ensures accurate measurements. Use a level to check if the door is properly aligned, identifying any gaps or misalignments.
2. Identify the Problem: Hinges that are too tight or loose can cause doors to swing erratically. Tight hinges might bind, while loose ones allow doors to sag or crash into nearby surfaces. Check each hinge for these issues, using a screwdriver to loosen them slightly if needed for inspection.
3. Adjusting the Hinge: Depending on the issue, you may need to adjust the screw positions on the hinge pivot points. Start by loosening the screws with a screwdriver and then tighten or move them until the door aligns perfectly. For loose hinges, tightening will secure them; for tight ones, slightly loosening can provide the necessary flexibility.
4. Test and Repeat: After each adjustment, test the door’s alignment. Keep refining your hinge settings until the door swings smoothly without any gaps or collisions.
Final Checks and Maintenance Tips

After making adjustments to your cabinet hinges, it’s crucial to perform final checks to ensure proper door alignment and smooth operation. First, close each door fully and verify that they swing evenly, making sure they don’t lag or twist on any side. Check for any gaps or overlaps in the doors’ edges as they shut; these can indicate misalignment. Next, open the doors and observe their movement—they should glide effortlessly along the hinges, without any sticking or scraping sounds.
For ongoing maintenance, regularly lubricate the hinges with a silicone-based lubricant to prevent rust and ensure smooth pivoting. Keep an eye out for signs of wear or damage, such as loose pins or bent components, which may require professional repair or replacement. Regular checks and minor adjustments will help extend the life of your cabinet hinges, ensuring they continue to function optimally and contribute to a neat, appealing kitchen or cabinet setup—essential Handyman Tips for any DIY enthusiast.
Cabinet hinge adjustments are a simple yet effective Handyman Tip for correcting door alignment issues. By understanding the basics of hinge adjustments, identifying misalignments, and following a step-by-step guide, you can ensure your cabinet doors open smoothly and look their best. With the right tools and safety precautions, tackling this task is within reach for any DIY enthusiast. Regular maintenance checks will help keep your hinges in top condition, ensuring these doors remain aligned for years to come.